Tile Upscaler Free Online - Diffusion Upscaling Explained
A tile upscaler runs a diffusion model over overlapping crops, so it can add texture a plain 4x network cannot. That buys richness and costs faithfulness. Try one free below.
tiled diffusion · rebuilds texture
Running Tile Upscaler in your browser. Want a bigger upload and a model you choose per image? →
Independent site — not affiliated with Bigjpg or bigjpg.com. Or enlarge it on a dedicated GPU →
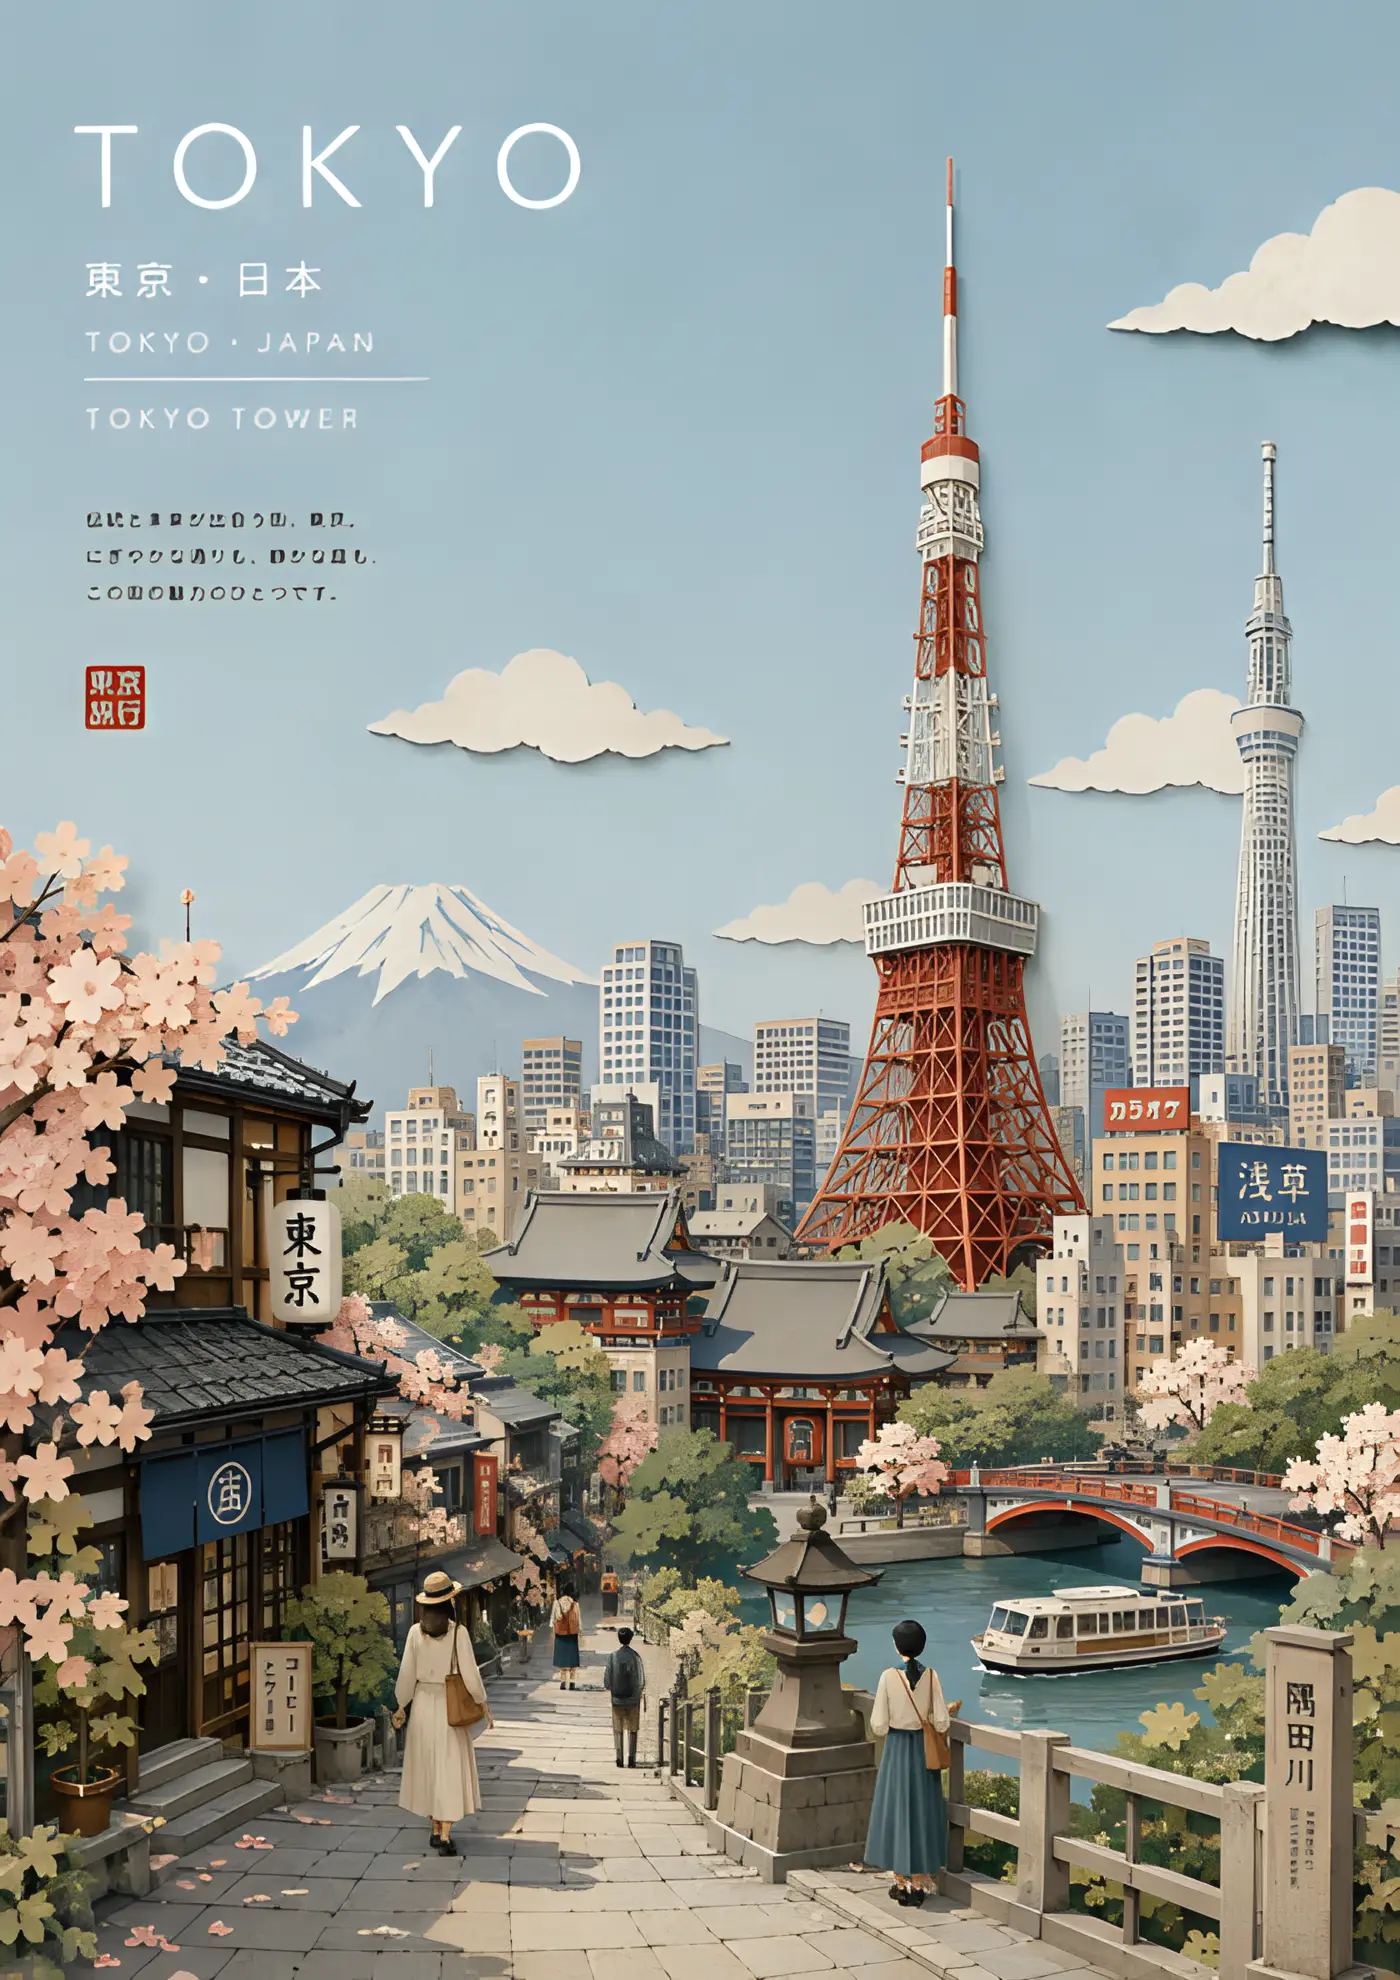
Drag the divider: same file, 420 pixels wide, enlarged 4x
Every one of these started as a 420-pixel-wide file and came back through an engine on this page. Look at the small type and the leaves — that is where the difference lives.
 420px originalenlarged 4x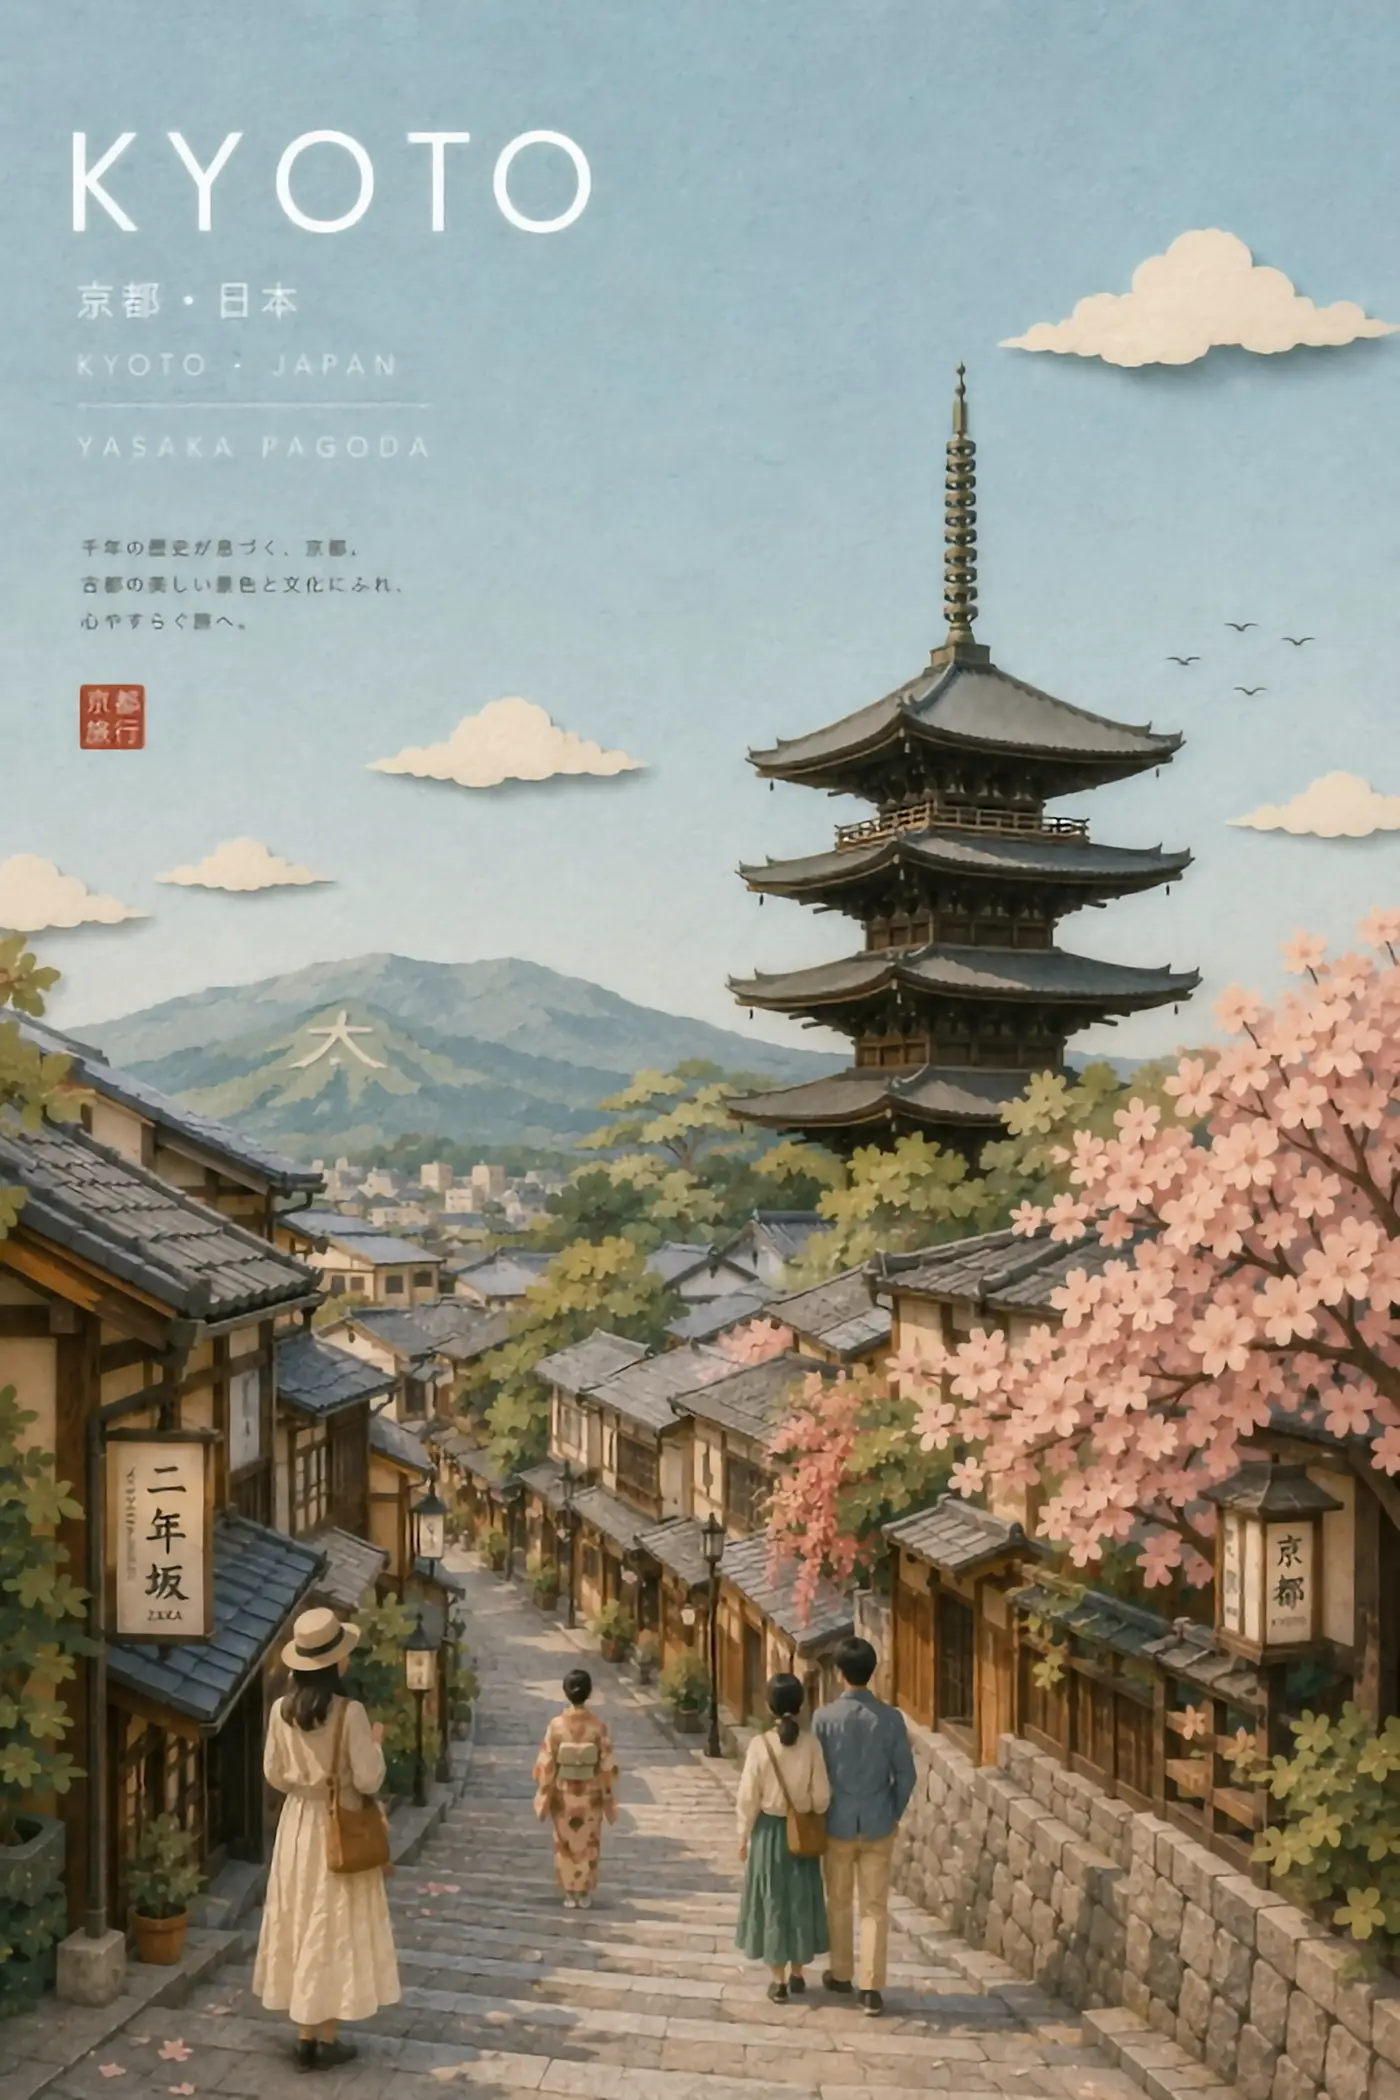
 420px originalenlarged 4x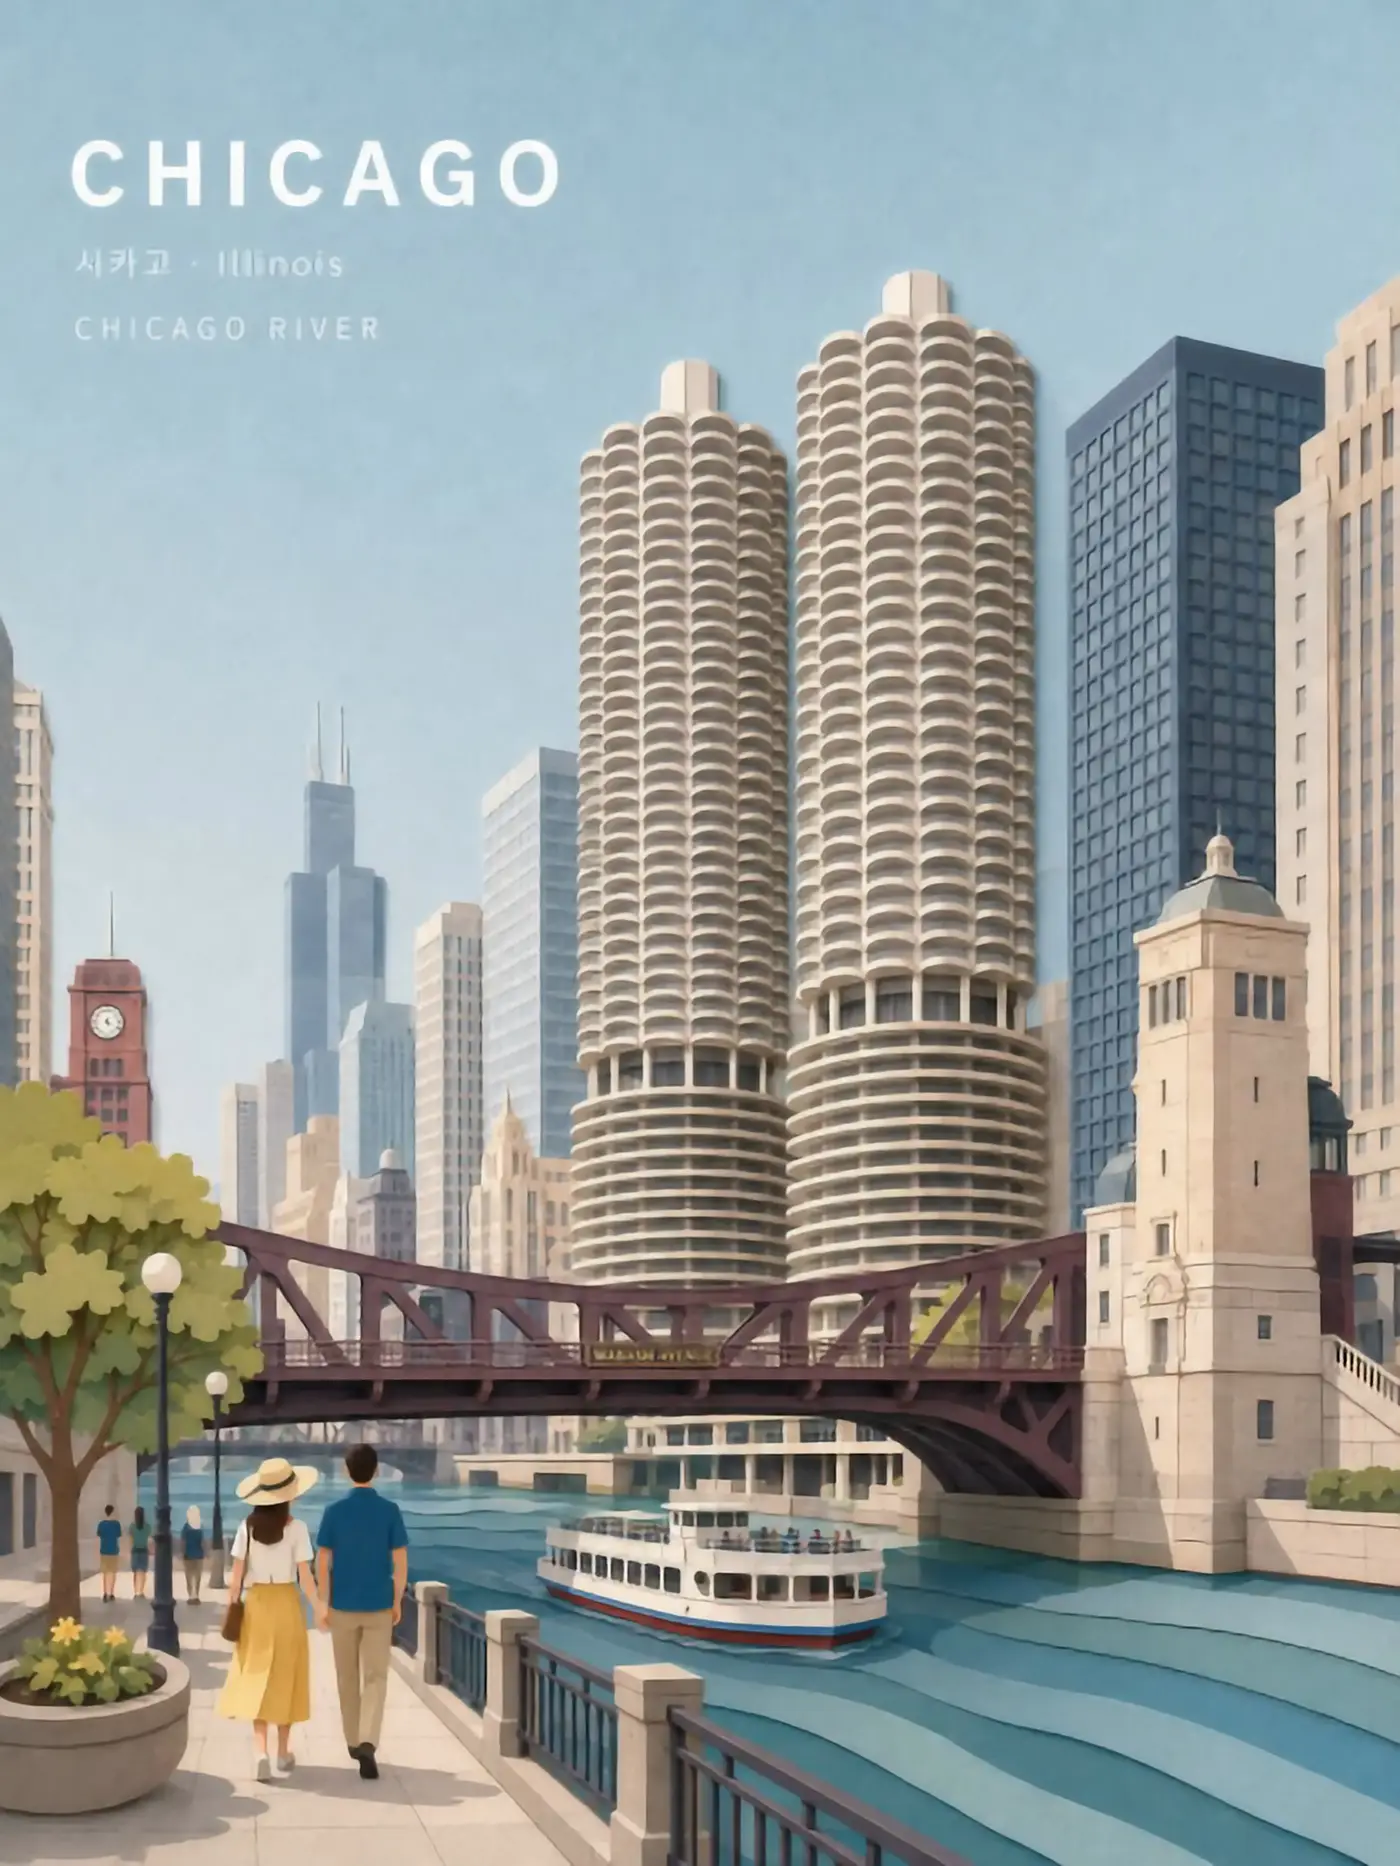
 420px originalenlarged 4x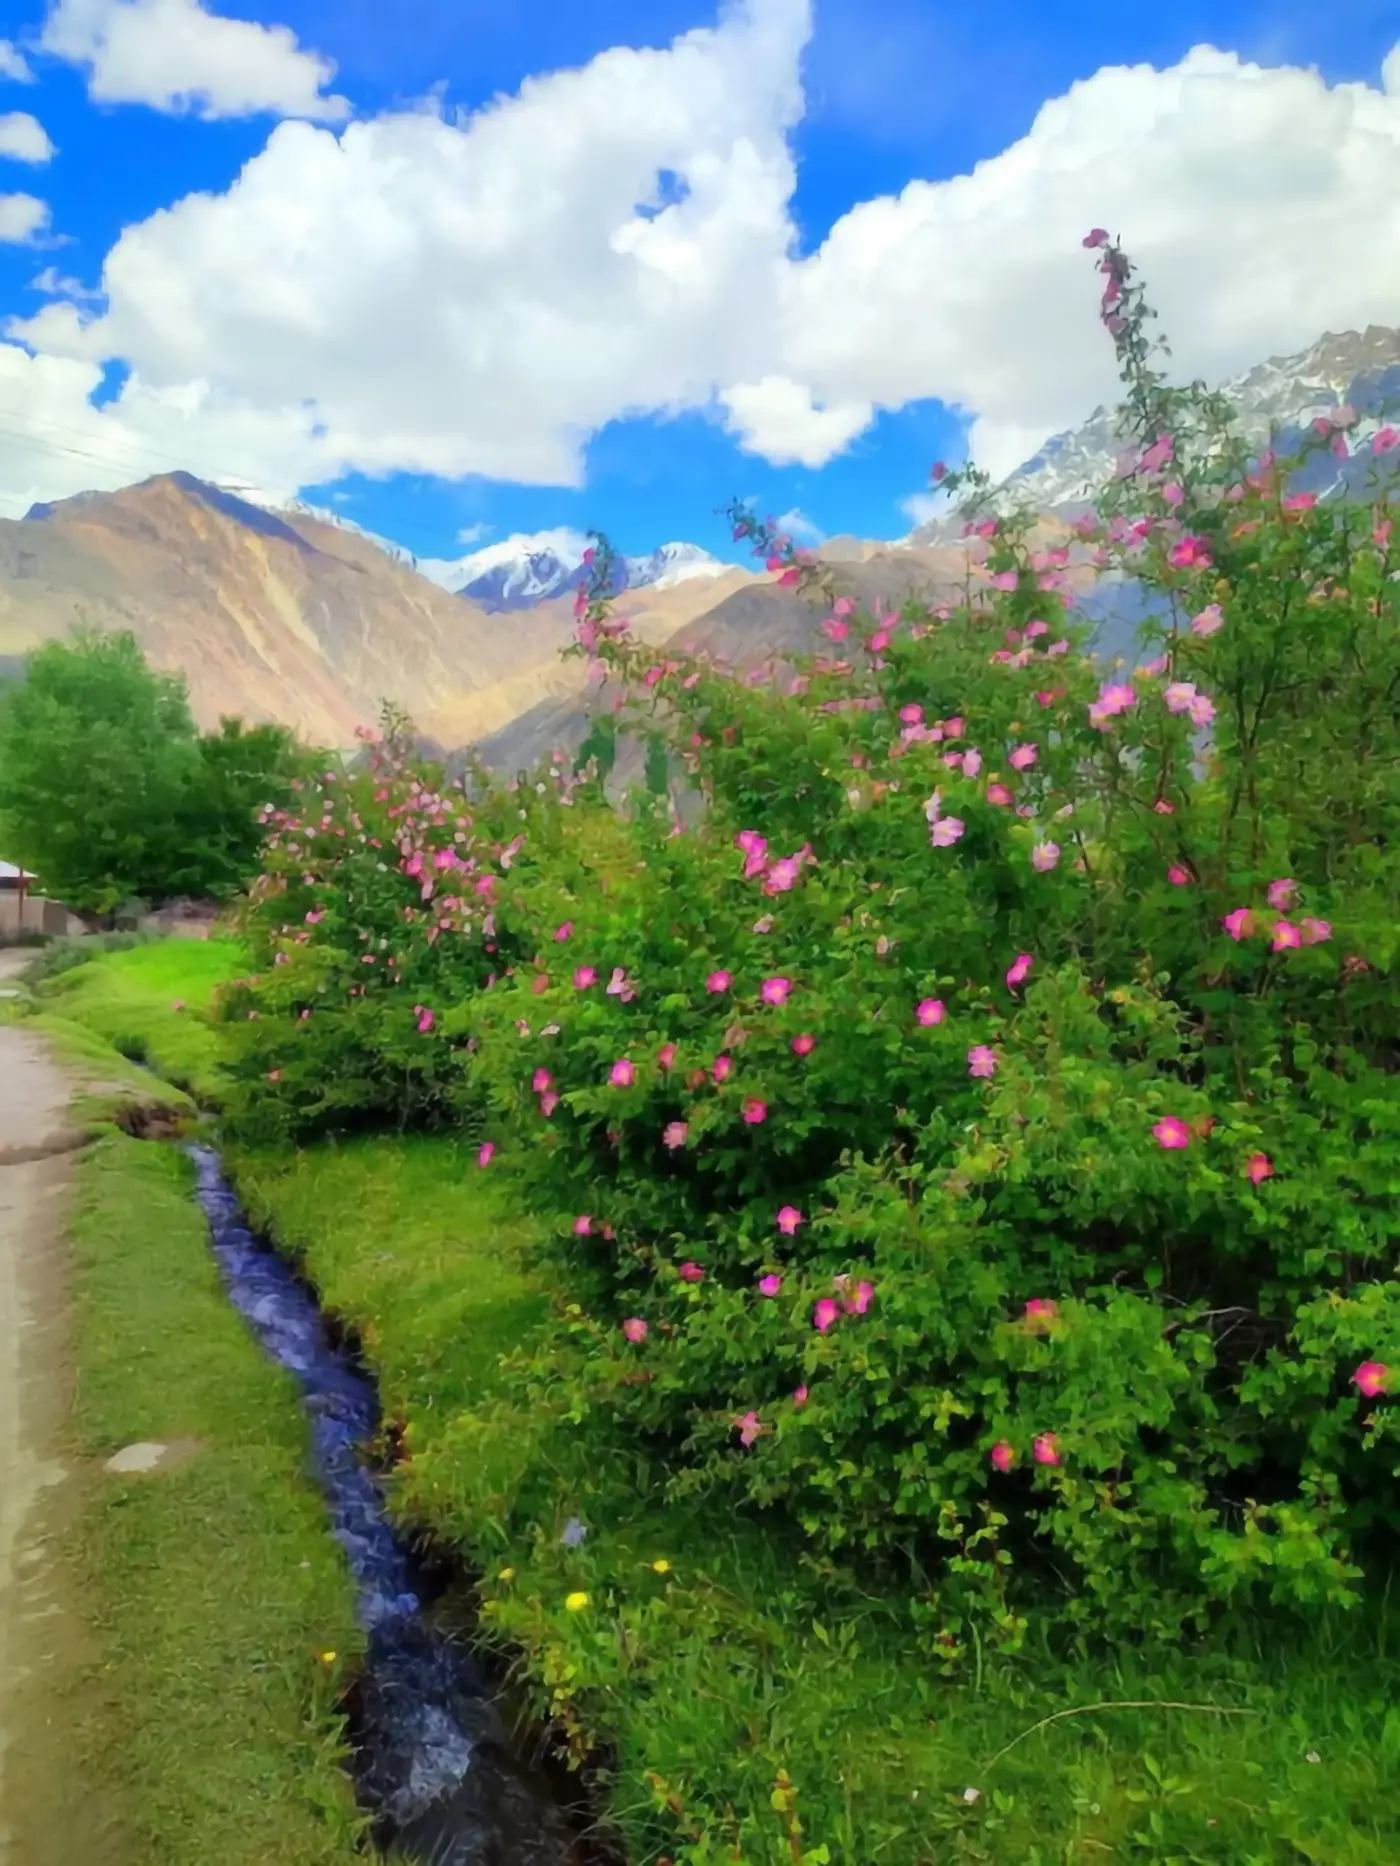
 420px originalenlarged 4x
 420px originalenlarged 4x
What a tile upscaler actually does
A conventional upscaler processes your whole image in one pass through a convolutional network. A tile upscaler does something different: it cuts the enlarged canvas into overlapping squares, runs a full diffusion model on each tile, then blends the seams back together.
The reason for the tile approach is practical. A diffusion model has a native working resolution — typically around 1024 pixels — and handing it a 4000-pixel canvas produces duplicated limbs, repeated faces and general incoherence. Cutting the canvas into tiles keeps every crop inside the resolution the model understands. The overlap and the blend are what stop the tile boundaries showing.
The consequence is the interesting part. Each tile is being generated, not merely sharpened. A diffusion model asked to render a crop of skin will produce pores; asked to render a crop of bark it will produce grain. A tile upscaler therefore adds texture that a restoration network would never invent, because a restoration network only extends what it can see.
What a tile upscaler is good at
The strengths follow directly from the mechanism.
Adding believable micro-texture
Skin, fabric, stone, foliage. Where a 4x network gives a clean smooth surface, a tile upscaler gives a surface with grain in it.
Very large output sizes
Because work happens per tile, a tile upscaler scales to poster dimensions without the memory wall a single-pass model hits.
Rescuing soft sources
A slightly out-of-focus photo comes back with invented but convincing detail, which often looks better than an honest soft enlargement.
Guided results
Most tile upscaler implementations accept a prompt, so you can steer what kind of texture gets added — a lever no conventional upscaler offers.
Photographic material generally
Anything stochastic is where the tile approach separates from the pack.
Run a tile upscaler free, right here
The tool below includes a tile upscaler alongside faster conventional engines, running in your browser — free, no account, no card, no install. Upload an image, pick the tile engine, and compare it against a plain 4x pass on the same file.
Running both is the point. On line art the conventional engine usually wins; on a soft photograph the tile upscaler usually wins. The file decides, and thirty seconds settles it.
Sponsored
What a tile upscaler costs you
Every advantage above has a matching price, and they are worth knowing before you make a tile upscaler your default.
Speed
A diffusion pass per tile is many times slower than one convolutional pass. Seconds become tens of seconds, or minutes at large sizes.
Determinism
Run a tile upscaler twice and you get two different images. For a one-off that is fine; for a batch that has to match, it is a real problem.
Faithfulness
The texture is invented with more freedom than a restoration model would ever take. On a portrait of someone you know, that freedom is visible.
Seams
Good implementations blend well, but a tile upscaler can still leave subtle discontinuities across a large flat gradient like a sky.
Line art
This is the weak case. Diffusion texture on flat colour and clean outlines adds noise where the drawing wanted none, which is why a tuned enlarger like Bigjpg — deep convolutional networks adjusted for lines and colour — stays the better tool for illustration.
How to drive a tile upscaler well
The controls look intimidating and only three of them change the outcome much.
- STEP 1
Denoise or strength
This is the master dial. Low values keep your image and add a little grain; high values let the tile upscaler redraw the crop almost from scratch. Most disappointing results come from a strength set higher than the job needed — start low and climb.
- STEP 2
The prompt, if there is one
A short, factual description of the subject helps enormously, because each tile is otherwise being rendered blind. "Close-up photograph of an elderly man, wool coat" steers a tile upscaler toward the right texture. Style words steer it away from your image.
- STEP 3
Tile size and overlap
Bigger tiles mean fewer seams and more memory; more overlap means smoother blending and more time. Defaults are usually right, and this is the last thing to touch.
- STEP 4
Scale factor
The same rule as everywhere else: enlarge to the size you will display. A tile upscaler will happily take you to 8x, and at 8x almost the entire picture is the model's work rather than yours.
One habit worth forming: run the fast conventional engine on the same file first and keep both. Comparing them is the only way to see what the tile upscaler actually added, as opposed to what it merely changed.
When to pick which upscaler
Three families, three jobs.
Conventional 4x networks
Fast, deterministic, free. Correct for line art, screenshots, logos, compressed web images and anything you need reproducible.
Tile upscalers
Slower and non-deterministic. Correct for photographs where you want texture and richness more than you want a literal enlargement, and for very large outputs.
Tuned commercial enlargers
One network, one opinion, a simple interface. Bigjpg caps free uploads at 3000x3000 pixels and 5MB and lifts that to 50MB on paid accounts. You trade control for consistency, which is a fair trade when the job is routine.
The order that works: run the fast conventional engine first, because it is free and instant. Reach for a tile upscaler when the fast result is clean but empty.
Where tile upscaling came from
The technique was not designed in a lab, it was assembled by users. When diffusion image models arrived, people immediately wanted large outputs and immediately hit the resolution wall — ask for 2048 pixels from a model trained at 512 and you get two heads and three arms.
The workaround that stuck was to stop asking the model for a big picture and start asking it for many small ones. Enlarge conventionally first, cut the canvas into tiles, let the model redraw each tile with the enlarged version as its guide, blend the overlaps. Control networks made the guiding reliable, and at that point a tile upscaler became a dependable tool rather than a clever hack.
That history explains the ergonomics. The controls are exposed because they were never hidden; the defaults vary between implementations because there was never a single reference version. It also explains the quality: this approach won because it produced pictures people preferred, not because it was theoretically correct.
Questions about tile upscaling
- Why is a tile upscaler so much slower?
- It runs a full diffusion model on every tile, and a large canvas can be dozens of tiles.
- Will I see the tile edges?
- Rarely on textured content, occasionally across large smooth gradients. Overlap and blending are what a good implementation spends its effort on.
- Can a tile upscaler change my image?
- Yes, more than a restoration model will. It adds texture with real freedom, so check faces and text at final size.
- Does it work on anime?
- It works, but a network tuned for line art usually gives a cleaner result. Tile upscaling shines on photographic material.
- Is the tile upscaler on this page free?
- Yes, no account and no card. It runs on shared GPUs with a per-visitor daily allowance that resets on its own.
- Which should I use for a poster?
- A tile upscaler, if the source is photographic and you want texture at print size. For a logo or a chart, rebuild it as a vector instead.
Enlarge the file before you pay for anything
Run it free in the browser — no account, no card. Then send the two or three images that actually matter to a dedicated GPU.